뚜렷한 훅 없음
시선을 끄는 명확한 오프닝 훅 없이 바로 시작하는 영상입니다.
상세 분석 보기크리에이티브 분석

In the analyzed video, BoilersToBathrooms uses a First-person POV structure, opens with No Hook, and builds purchase intent through Proof angle. This observation is based only on this video's script, storyboard, and public performance data.
무료로 유사 동영상 만들기TikTok에서 원본 보기크리에이티브 분석
In the analyzed video, BoilersToBathrooms uses a First-person POV structure, opens with No Hook, and builds purchase intent through Proof angle. This observation is based only on this video's script, storyboard, and public performance data.
시선을 끄는 명확한 오프닝 훅 없이 바로 시작하는 영상입니다.
상세 분석 보기이 시점은 시청자가 직접 경험하는 듯한 느낌을 줍니다. 손으로 촬영한 셀피 영상으로 제품의 디테일과 사용 과정을 보여 주어 현장감 있는 진정성을 만들고, 시청자와의 거리를 좁혀 구매 관심을 높입니다.
상세 분석 보기권위 있는 자료와 전문가의 추천을 인용하면 제품의 신뢰도를 크게 높일 수 있습니다. 전문가가 설계했거나 특허를 보유하고 임상 시험을 거쳤다는 점을 언급하고, 필요하면 정품 인증서까지 제시해 품질과 효능이 전문적으로 인정받은 믿을 만한 제품임을 보여 줍니다.
상세 분석 보기Turn up to this one. Customer said the heating's not working, but they said if you put the hot water on and the heating on together, the radiators will get hot. So heating on on the programmer, room stat all the way up, let's see what the boiler's saying. So boiler's just sat there not doing anything, head up into the airing cupboard, it's a Y plan system. So next thing I'm gonna do is whip out the breakdown bible, I'm gonna turn to the Y plan wiring sequence, heating on section, so it starts from the programmer, goes through the room stat, through the zone valve and fires the boiler.
So the first place I'm gonna start is gonna be the zone valve. Rip the case off the wiring center and I can't see a white in there anywhere. And as you can see, they've altered the cable from the zone valve. So I'm gonna assume they've used that brown as the white, but you can never assume in this game, so let's take the other side apart and have a look. Yeah there you go, they've used the white and they've turned it to brown, so I'm gonna check for 240 on white. Yep, I'm getting 240 on white, I've gone neutral to white, and then I'm gonna do neutral to orange, I'm not getting any voltage. So as you can see, power goes in on white, motors over, makes the micro switch sends it back on orange which it's not. So that's proved the fault is the Y plan valve.
Grab a new one off the van, turn the power off so I don't end up with spiky hair, put the waterproof sheet down, then I'm gonna grab my very questionable bung and I'm gonna make my way up into the loft. Ten points for anyone that can tell me what's wrong with this header tank or what's it missing. Let me know in the comments.
Anyway, you pop the bung in like that, as you can see I got some ptfe on it to make sure it seals properly. Then I'm gonna turn the pump valve off at the top, take the head off cause it's annoying me, move that out the way. Undo all the nuts, well actually that was a bit premature, I'm only gonna undo the one nut first to take the pressure off. Once you've drained a little bit of water out you're gonna undo all the rest of the nuts, take the new valve out. If you're unsure, B for bath and A for actually heating, I don't know. Someone's gonna tell me what that actually means and maybe it'll make sense maybe it won't, I don't know.
Anyway, get that brass body out the way, you gotta be careful not to tear the cylinder though, if you put too much strain on that pipe and you rip that cylinder you'll know about it. Get the old one out the way, straight in the scrap bag, nice little Christmas bonus that is.
Pop the new one in, bit of jointing compound, give it a tighten up all the way around, open the pump valve up before you forget about it and wonder why it's not circulating.
Head back into the loft and stick your hand in the dirty tank, pop the lid back on cause I ain't going back up there again. Now let's sort out this absolute mess that was the wiring center. There's the new cable in, I'm just gonna hook it over like that, no need for that five way connector. There we go, that's all done, a lot neater now, throw that in the bin. Turn the power back on, create a demand for heating only.
This is where I'd normally drink my coffee but I didn't have one. Green light means go, what's better than one green light? Two green lights, happy days.
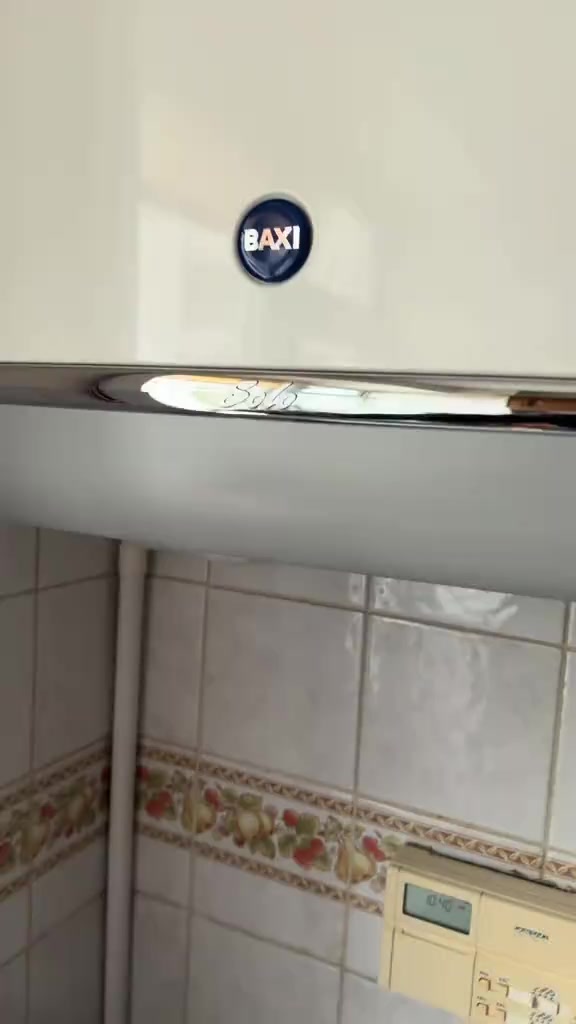
The video starts from the front of the BAXI wall-mounted boiler. The operator toggles the CH lever of the thermostat and turns up the room thermostat knob. Then the camera moves to the heating pipe area, shows the repair reference manual titled 'BREAKDOWN BIBLE', and points at the Y-type heating wiring sequence diagram on the manual with a finger to explain the fault troubleshooting logic.
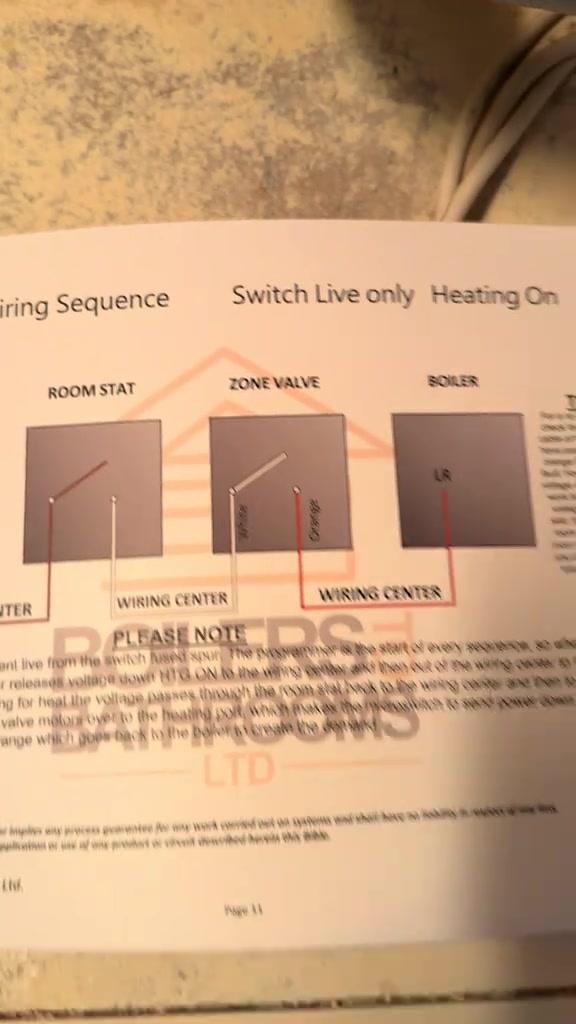
The operator pries open the cover of the heating junction box with a screwdriver, takes out the valve wiring terminal, and exposes the multi-color internal wiring. Then he uses a multimeter to test the terminal voltage. After that, he returns to the manual page to cross-check the wiring sequence, and finally the camera focuses on the old brass heating valve installed on the pipe, confirming that the fault point is the damaged Y-type valve.
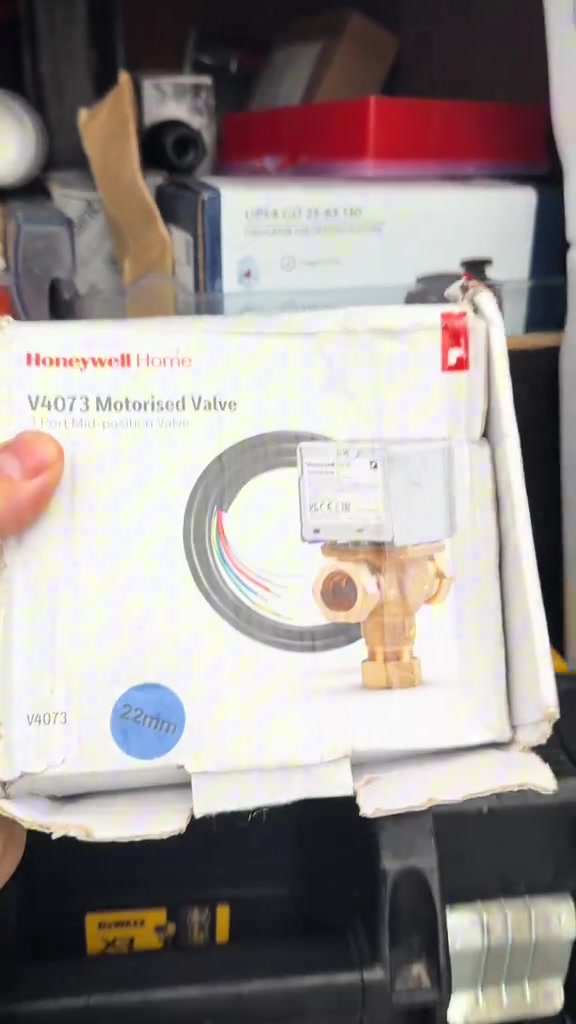
The operator takes out the packaging box of the new Honeywell heating motorized valve, turns off the power switch on the room wall, spreads a blue waterproof cloth under the equipment, holds the pipe plug, moves to the open expansion water tank in the attic, and prepares to plug the pipe interface to prevent water leakage.
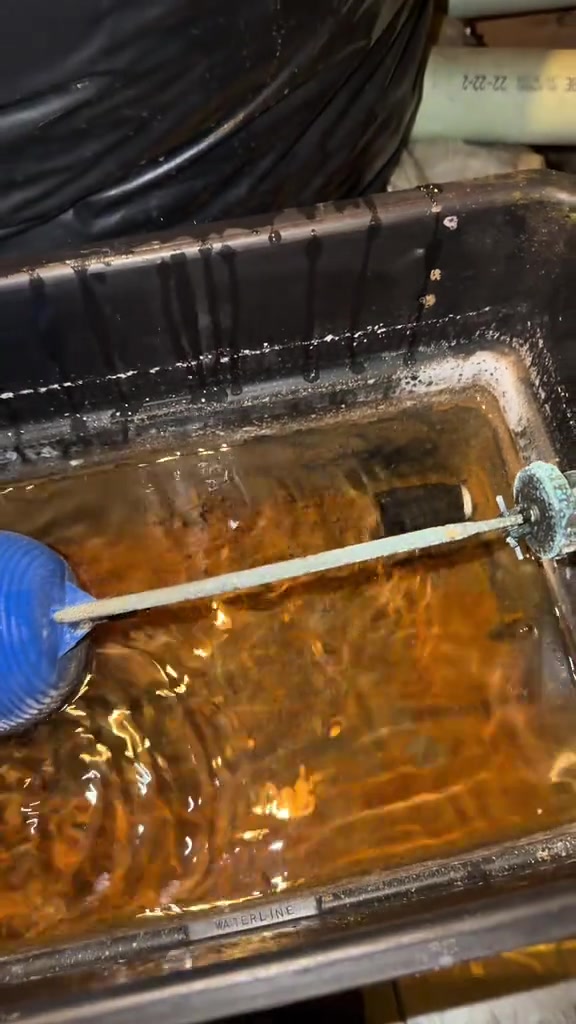
The operator inserts the plug into the water outlet inside the water tank to block drainage, returns to the heating pipe area to close the pump valve, removes the actuator head of the old valve, loosens the pipe nuts with a wrench, lets the accumulated water in the pipe flow into the green water pan below, and takes out the brass valve body of the new valve to show the interface markings.
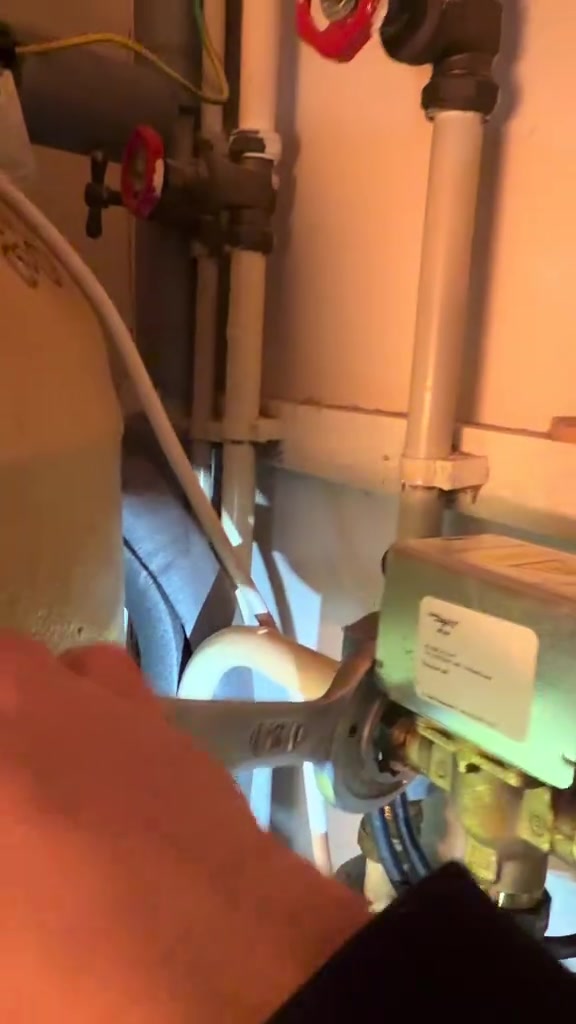
The operator carefully removes the valve body of the old brass valve, uses the water pan to catch the residual water leaking out, and directly puts the old valve into the scrap storage bag below to prevent oil stains from soiling the surrounding walls and equipment.
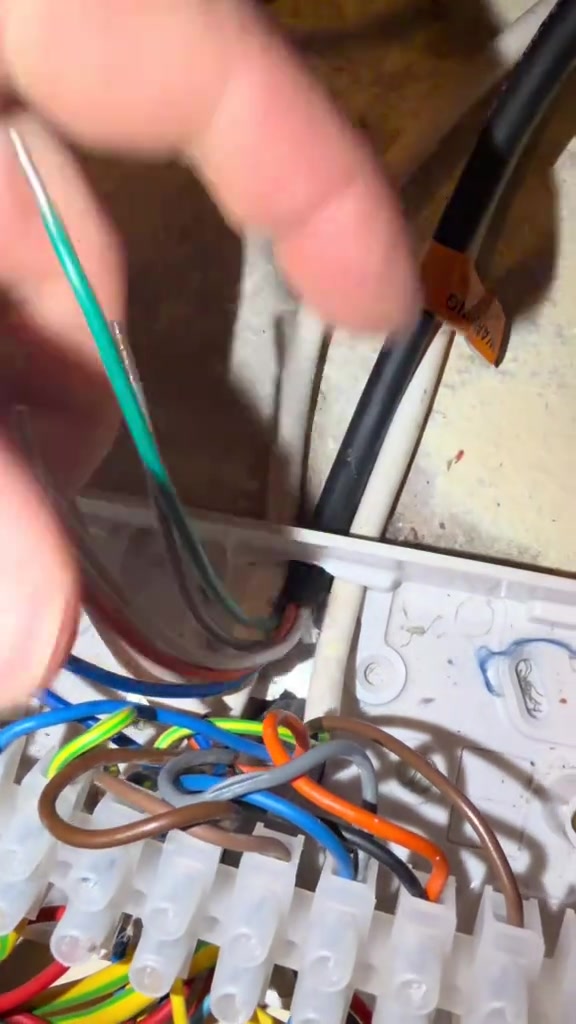
The operator aligns the new brass valve body with the pipe interface for installation, applies sealant, tightens all connecting nuts with a wrench, then reopens the pump valve, completing the mechanical installation steps on the heating side.
The operator returns to the attic water tank to remove the plug and put the water tank top cover back on. Then he returns to the junction box to sort out the messy cables, uses a screwdriver to complete the wiring of the new valve and neat up the wiring. After that, he goes back to the wall to turn on the main power switch, and the heating system starts up.
The camera moves up to aim at the control panel of the BAXI wall-mounted boiler. The two green running indicator lights on the panel turn on, confirming that the heating system has been successfully repaired, and the maintenance work is completed.
자주 묻는 질문
이 동영상의 크리에이티브 전략, 크리에이터, 지표 및 유사 동영상 제작에 관한 질문입니다.
이 동영상은 “뚜렷한 훅 없음”으로 시작합니다. 수집된 동영상 내용과 분석 필드를 기반으로 한 분류이며, 첫 몇 초 동안 관심을 끄는 방식을 이해하는 데 참고할 수 있습니다.
주요 판매 포인트는 “효과 증명”이고 동영상 구성은 “1인칭 POV”입니다. 상품, 타깃 시청자, 브랜드 표현에 맞게 조정하세요.
현재 데이터에는 BoilersToBathrooms 님이 크리에이터로 표시되어 있습니다. 가능한 경우 공개 TikTok 프로필로 이동할 수 있습니다.
네. Octer는 원본 영상을 직접 복사하지 않고 훅, 속도, 구성, 표현 방식을 참고해 상품 정보와 결합합니다.
아닙니다. 가장 최근에 수집된 공개 데이터이며 플랫폼 업데이트와 집계 기간에 따라 지연될 수 있습니다.
원작자의 영상, 음악, 초상 또는 브랜드 자산을 직접 재사용하지 마세요. 게시 전에 사용 권한과 관련 플랫폼 규정을 확인하세요.